

Sometimes we need to make modifications to our page, either because we don’t want to resort to plugins or we don’t have a child theme, the most viable alternative is to create our own plugin.
In a moment, and following a few simple steps, we are going to create our plugin using two options:
1. From the file manager:
To create the plugin you’ll need to log in to your CPANEL – File Manager – and search for your domain.
Once located, click and go to the wp-content folder, click on it and look for the Plugins folder and once inside, at the top left of the File Manager, click on +Folder and create one with the name you like the most. Ex: My-functions.
Once created, it will appear in the list of plugins of the File Manager, click on the new folder created (My-functions) and create a File from the top +File, we will give it the same name as the “my-functions” folder.
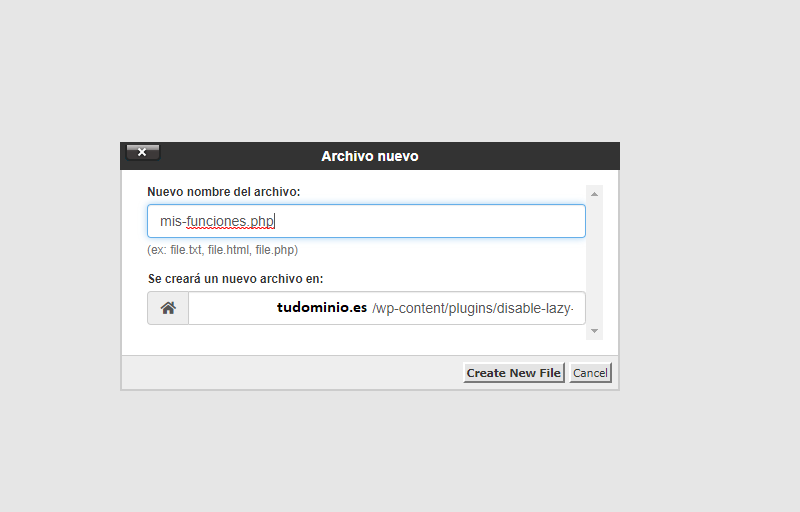
So that the newly created file can be edited, we will add the .php extension and it would look like this: “my-functions.php” we can already edit our complement.
Select my-functions.php and at the top click edit (a window will emerge, click edit again).
A php text editor will open and there we will insert the code:
<?php
/*
Plugin Name: Mis Funciones
Plugin URI: https://tudominio.es/
Description: Plugin para ejecutar funciones personalizadas.
Version: 1.0
Author: Fran Soler
Author URI: https://tudominio.es
License: GPLv2 o posterior
*/

// Desactivar Lazyload

add_filter( 'wp_lazy_loading_enabled', '__return_false' );
The urls, the description, the author, or the version, you put it to your liking
Click Save, close the window and log in to Cpanel. We go to our WordPress and go to plugins, it should appear in the list, activate it and check that the site works correctly, and that “my-functions” fulfills its purpose.
2. Pluginception
With this free plugin you will be able to create a plugin from the Back End of your WordPress without having to enter the files of your hosting.
From Plugins you will see a new option called Create a new plugin.
Attention: if you have installed a security antivirus such as “Wordfence or iThemes Security” the new parameter may not be visible, you will have to disable it to be able to edit.
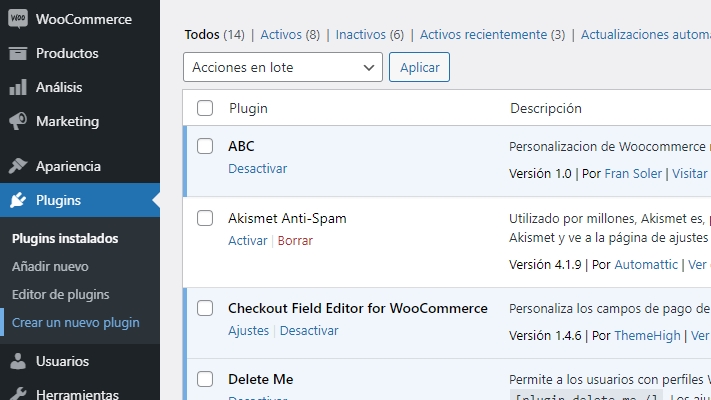
A form will appear with the data you want to put on your plugin, click on create and it will be ready to add your custom code. This is a clean and convenient way to add functionality to your WP.
Then you will see that the header of your new plugin has been created, now all that remains is to write the code and activate it.
Once you’re done editing, turn it on and check your changes
All this without leaving your WordPress, without messing up folders, and the best thing is that it will warn you when you click on Activate if the code fails, so your website will not be blocked. But I’ll also show you how to do manual deactivation.
What if something goes wrong?
In case of an error, either due to implementing the code incorrectly or for another reason, we can deactivate the plugin from Cpanel.
We will do it by going back to the File Manager and locating the folder of the new plugin that we have created, select it and in the top menu click on Rename and add .old (my-functions.old) at the end and click Rename file.
With that, the plugin is deactivated and we will be able to access the WordPress Back End again from WP-Admin.